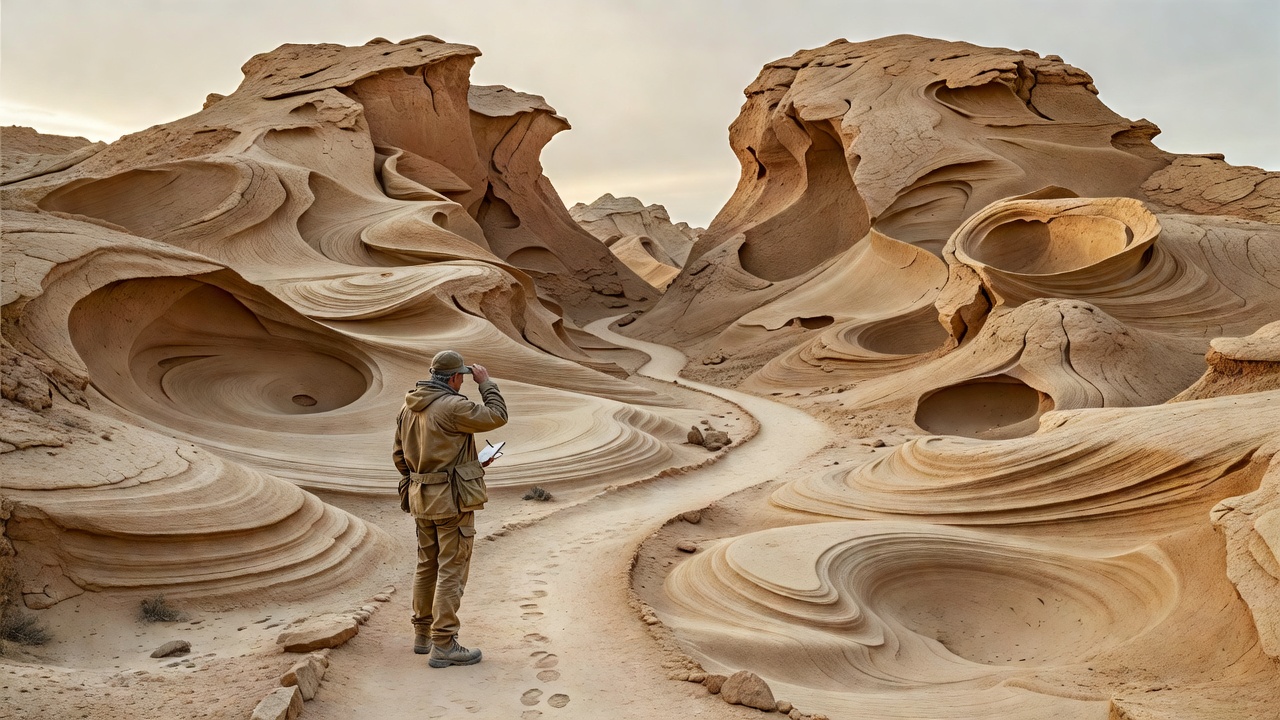
Geological landscapes can feel unfamiliar even when their names are well known. Eroded clay, limestone pinnacles, banded sandstone and high-altitude volcanic ground ask different questions of a photographer. Rather than arriving with one reference image, arrive with a method: observe the material, notice the direction of relief, and decide where you can stand without damaging the scene.
The destinations below are planning examples, not promises of solitude or unrestricted access. Some are internationally recognised protected areas. Their value here is that they demonstrate different ways to read a landscape, including the less celebrated details beside an established route.
Bardenas Reales: follow the shadow structure
In Navarra, Spain, Bardenas Reales is known for eroded landforms shaped from sedimentary materials. The most useful photographic question is often not which formation to find, but which face will catch light. Low, oblique illumination can separate ridges that appear almost flat under overhead sun. Cloud can simplify the same scene into quieter bands of tone.
Use an official route map to understand where visitors may travel. Do not interpret a wheel mark or a social photograph as permission to leave that route. Restrictions, local uses and temporary closures can affect a visit. Confirm current information through the relevant destination or park authority rather than relying on an old trip report.
On arrival, make a wider photograph first. Then use a longer focal length to isolate repeating folds from your permitted position. A tight composition can communicate the character of the place without including a recognisable landmark. Keep human scale on an established path; never ask a companion to scramble onto a fragile formation for the frame.
Tsingy de Bemaraha: let the route lead
Madagascar’s Tsingy de Bemaraha is a limestone landscape with sharp pinnacles and fissures. It is not terrain for improvised shortcuts. Local guiding, designated circuits and seasonal operating conditions are central to planning. Verify arrangements with the park authority or a reputable local operator before treating a journey as confirmed.
Photographically, this is an exercise in overlapping edges. Strong sunlight can create difficult contrast between bright rock and deep gaps. Expose carefully, check the histogram if your camera provides one, and accept that some shadows should remain dark. A modest frame made from secure footing is preferable to a wider view that compromises balance or blocks a narrow route.
Two more ways to read unusual ground
The Bungle Bungle Range in Western Australia’s Purnululu National Park offers a different lesson: repeated forms and banding can create visual rhythm. Plan around official park conditions, road suitability and the heat. A longer lens may help separate patterns, while a wider frame can explain how the formations sit within the surrounding country. Respect cultural guidance and any restrictions on where photography is appropriate.
In the Puna region of northwestern Argentina, high-altitude basins, volcanic landforms and salt landscapes can make distance deceptive. A feature that appears close may require a substantial journey. Altitude, weather and limited services deserve more attention than the number of locations on an itinerary. Seek locally informed planning and do not drive onto an apparently firm surface without confirmed permission and suitable advice.
Make light direction a practical question
Begin with a map and identify the general orientation of the terrain. Sunrise is not automatically the best option: a west-facing wall may benefit from later light, while an overcast interval may reveal colour more clearly than strong sunshine. Forecasts help you plan possibilities; they do not guarantee illumination at a particular minute.
At the scene, compare three frames: a broad view, a relationship between two landforms, and one small texture. This simple sequence reduces the temptation to keep moving in search of a better-known viewpoint. Do not rearrange rocks, remove plants or brush away surface crusts to make a cleaner image.
A field plan worth carrying
- Before travel: Confirm route status, permissions and any guide requirements.
- Before walking: Identify the return route, expected exposure and available water.
- Before photographing: Check footing and avoid obstructing other visitors.
- Before publishing: Consider whether a precise location would put a fragile feature at risk.
The point is not to make every landscape look extraordinary. It is to give unfamiliar ground enough attention that its particular character becomes visible, without making your photograph a reason for the next visitor to step somewhere they should not.